How to mount and support a photography backdrop stand
A photography backdrop stand, a wall mount and a ceiling rail all hold fabric up. They do not hold it still in the same way.
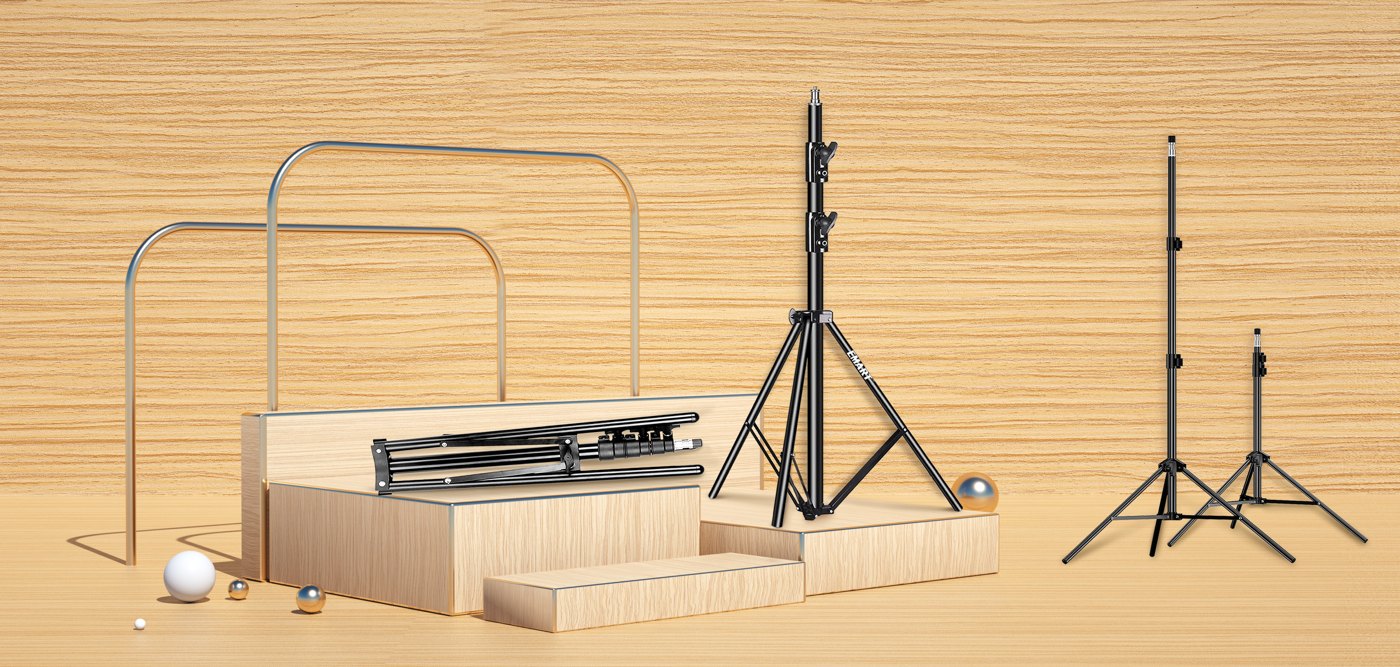
Freestanding frames
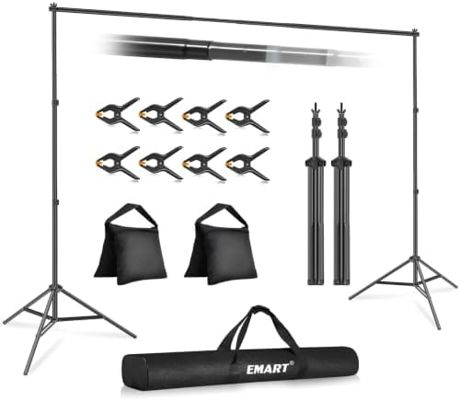
A backdrop support system on two legs is the default because it goes anywhere and leaves nothing behind. The trade-off is floor space: the feet stick out into the room on both sides, and the frame has to be weighted or it will move. For most spare rooms and most location jobs this is still the right choice, and a carry bag means the whole thing leaves with you.
Set the uprights slightly wider than the fabric, not flush with it. Tension across the bar is what keeps a background flat, and a frame set to the exact width of the cloth has nothing left to pull against.
Wall mounts and roller systems
If the background lives in one room permanently, a wall mount beats a stand on every count. A three-roller support system puts three backgrounds on one wall, each one pulling down like a blind and rolling back up out of the way. No feet in the room, no bar to carry, and the fabric or paper hangs from the same point every time so your lighting stops needing to be re-measured.
What a wall mount asks for is a wall that can take it, and the willingness to drill. Measure the drop before you fix the bracket: a roller mounted too low sets a ceiling on how tall a subject you can photograph.
Clamps, hooks and the hem
The join between fabric and frame is where backdrops fail. Spring clamps at the top corners stop the cloth sliding along the bar when somebody brushes it. Hooks spaced along a crossbar spread the weight so the top edge stays straight instead of scalloping between two points. At the bottom, either let the fabric run onto the floor and forward, or clamp it to the base — half-measures flap.
Keep a couple of spare clamps in the bag. They disappear at a rate no other piece of grip manages.
Weight at the feet
Sandbags are the cheapest insurance on a set. One per leg on an indoor shoot, two per leg anywhere with people moving or air moving. Water tank bases do the same job with more weight and no sand to carry, which is why they end up under the heavy pipe and drape rigs at events.
Weight also changes how a frame behaves when it is knocked rather than if. A weighted stand rocks and settles; an unweighted one walks, and keeps walking until the background is no longer behind the subject.
What an EMART photography backdrop stand is made of
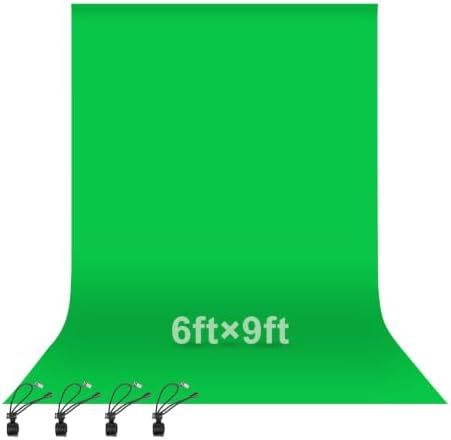
A support system is three purchases pretending to be one, and the frame is only the first. The crossbar and the uprights carry the height; a spring clamp at each corner secures the top edge; hooks spread the hang along the bar so the surface does not scallop between two points. After that comes what you hang: a seamless white sweep, a black drape, a muslin cloth, a green panel, paper on a roller. One background stand will serve types of work that look unrelated — portraits, recorded interviews, pet photography, product photo work, weddings and the booth people queue at. Choosing is about space. Measure the wall, position the feet clear of the walkway, allow for the frame fully expanded taking more floor than you expect, and leave extra width so an additional panel or a prop can go in without everything having to move.
Material and durability are the same question. Aluminum alloy keeps a support stand portable and is the popular choice for gear that travels; heavy metal gives enhanced stability and is the professional answer where a rig never packs down. The quality worth paying for sits in the locking collar and the fitting at the top of the tube, not in the finish — the excellent design is the one that still assembles quickly after a year. A standard mounting thread is essential, because it lets a crossbar from one kit assemble onto uprights from another without needing an adaptor, and the same thread takes a tripod head or a light. The package folds into a carry bag, compact and stable to transport in two hands, so you can create a set directly out of the bag. Care is a cloth and a dry cupboard. That practicality beats any powerful specification nobody uses.
Before you buy, in five lines
- Freestanding frame for anything that has to travel; wall mount or rail for a corner that never changes.
- A spring clamp at each corner, hooks for the middle, before you buy anything else.
- Sandbags are not optional once the frame is fully extended or people are moving.
- Match the mounting thread to what is already in your bag.
- Hang the surface slightly narrower than the bar so it has something to pull against.
Asked between takes
How do you mount and support a photography backdrop?
Three ways, in rising order of permanence: a freestanding frame with weighted feet, a wall-mounted roller system that pulls the background down like a blind, and a ceiling rail. Whichever you use, the fabric should be clamped or hooked at several points along the top bar so the weight is spread, and tensioned slightly wider than the cloth so it hangs flat.
What can I use instead of a backdrop stand?
A wall-mounted roller, a tension rod across an alcove, or clamps onto a shelf or door frame will all hold a small background. They stop working as soon as you need a full-length frame, because the drop is fixed by whatever you clamped to.
How many clamps does a backdrop need?
Two at the corners is the minimum and keeps the cloth from sliding. Four to six spread along the bar is what keeps the top edge straight on a ten-foot span, which is why our frames ship with a handful rather than a pair.